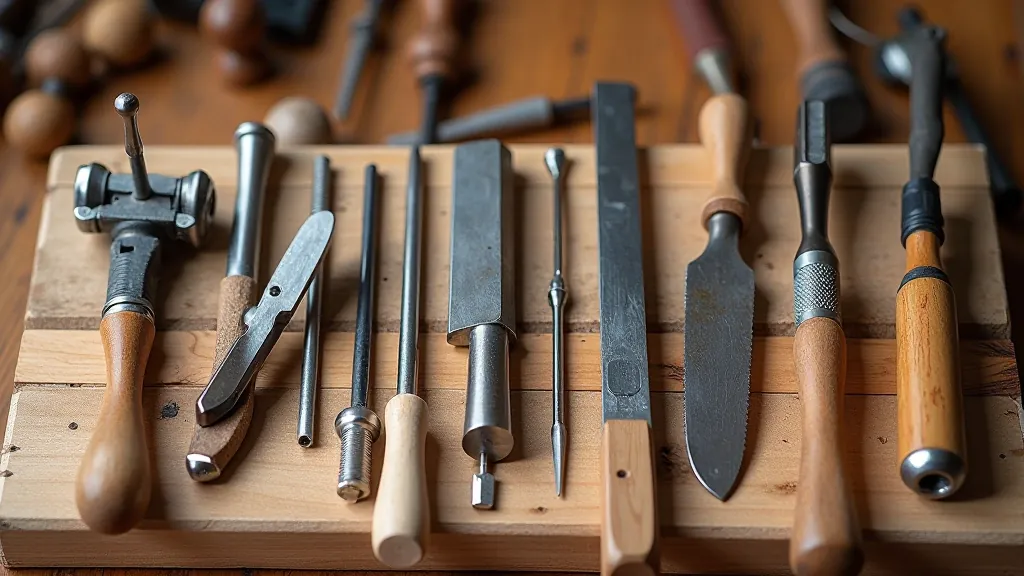
Essential Hand Tools Every Beginner Needs
A breakdown of the core tools — chisels, saws, planes, clamps — and why starting with quality basics matters more than you'd think.
From selecting the right wood to final sanding and finish. This project teaches you joinery, grain direction, and what a quality handmade object feels like.
A cutting board is one of the best first projects. It's not complicated, but it teaches you real skills — how wood moves, why grain direction matters, and what proper finishing looks like. You'll end up with something you'll actually use every day. That's the whole point.
Most people think they need fancy tools or a huge workshop. You don't. A sharp chisel, a saw, some sandpaper, and patience — that's genuinely all you need. We'll walk through exactly what to do, step by step.

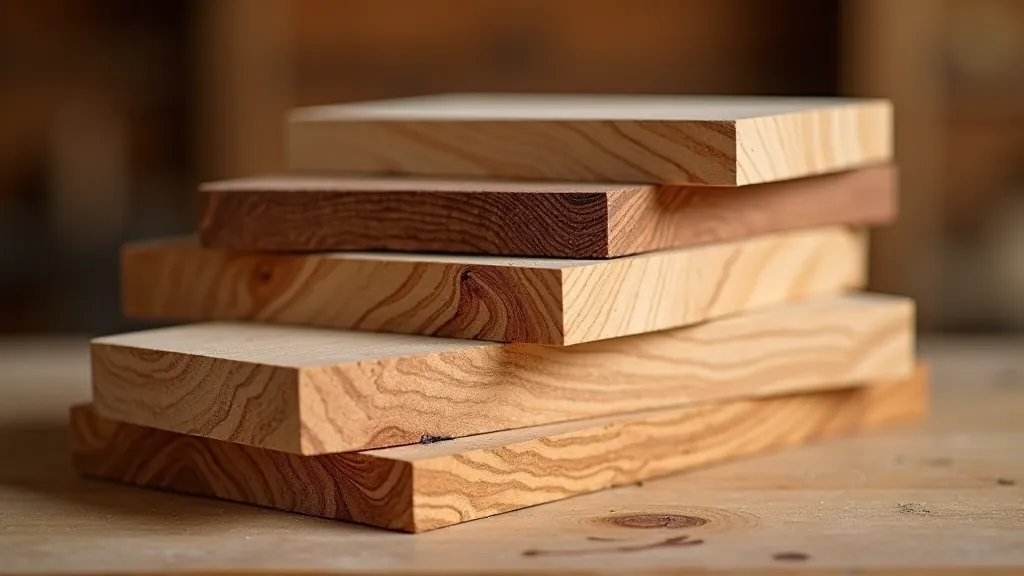
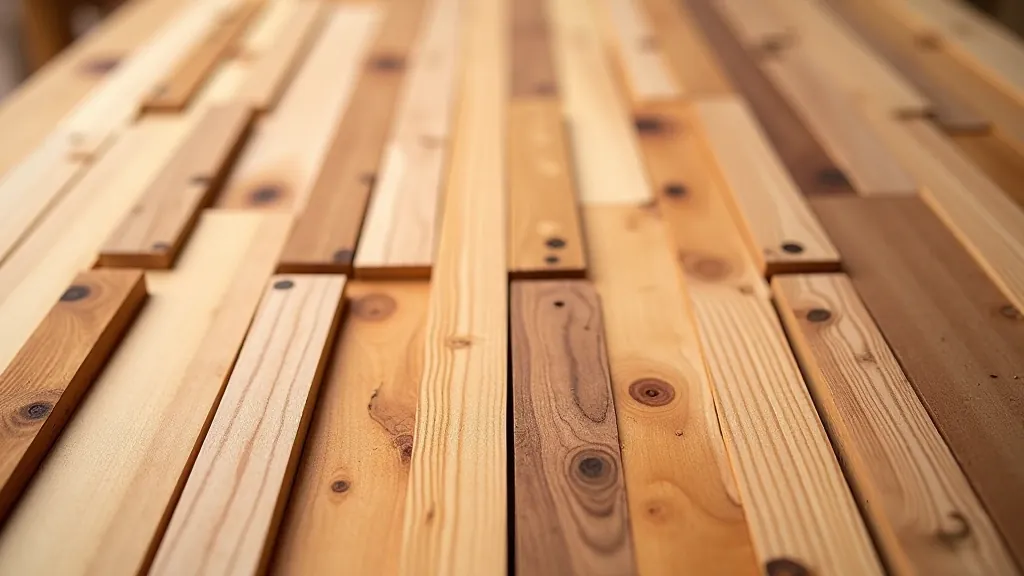
Wood selection makes or breaks your project. You want something stable — oak, maple, walnut, or ash work beautifully. Avoid softwoods like pine for cutting boards. They dent too easily and won't last.
For a beginner's board, you're looking at something roughly 12 inches wide by 18 inches long by 1.5 inches thick. That's a comfortable size — not too heavy, not too small. You'll need four pieces of wood to laminate together, each about 2 inches wide.
Pro tip: Don't use pressure-treated wood or anything with chemical finishes. You'll be cutting food on this.
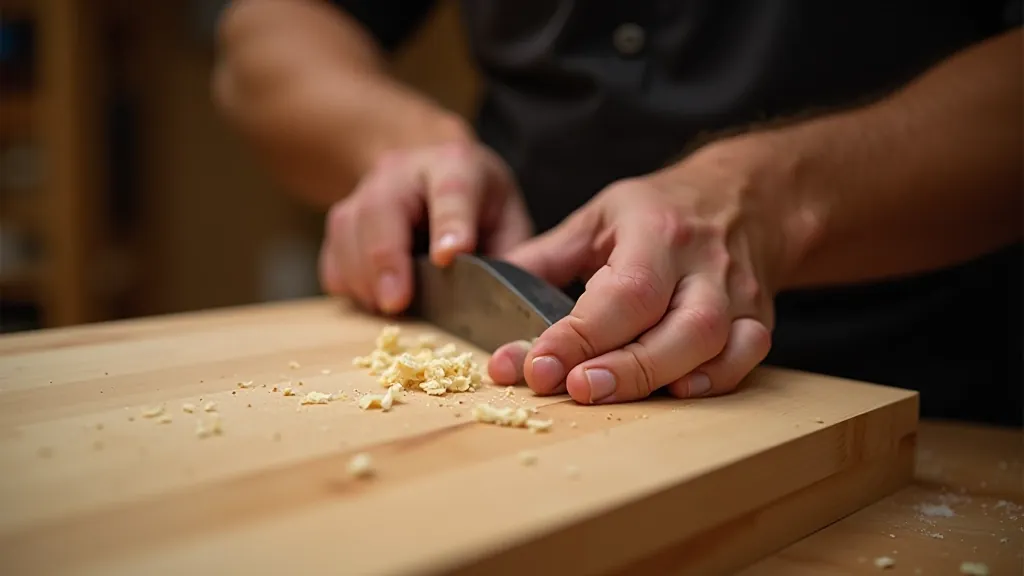
You've got options here. If you've got access to a planer and jointer, use them. If not — and most beginners don't — a hand plane works. Yes, it takes longer. But you'll learn something valuable about how wood actually behaves.
Get each of your four strips to exactly 2 inches wide and 1.5 inches thick. The length should be 18 inches. Consistency matters. If one board is slightly thinner, you'll have an uneven surface when you glue them together.
This is where patience pays off. Don't rush. Take thin shavings, check your measurements constantly, and accept that this part takes a few hours.
Educational Note: This article is for informational purposes about woodworking fundamentals. Always wear appropriate safety equipment when using tools and machinery. If you're unfamiliar with power tools, consider taking a workshop or getting hands-on guidance from an experienced woodworker before proceeding.
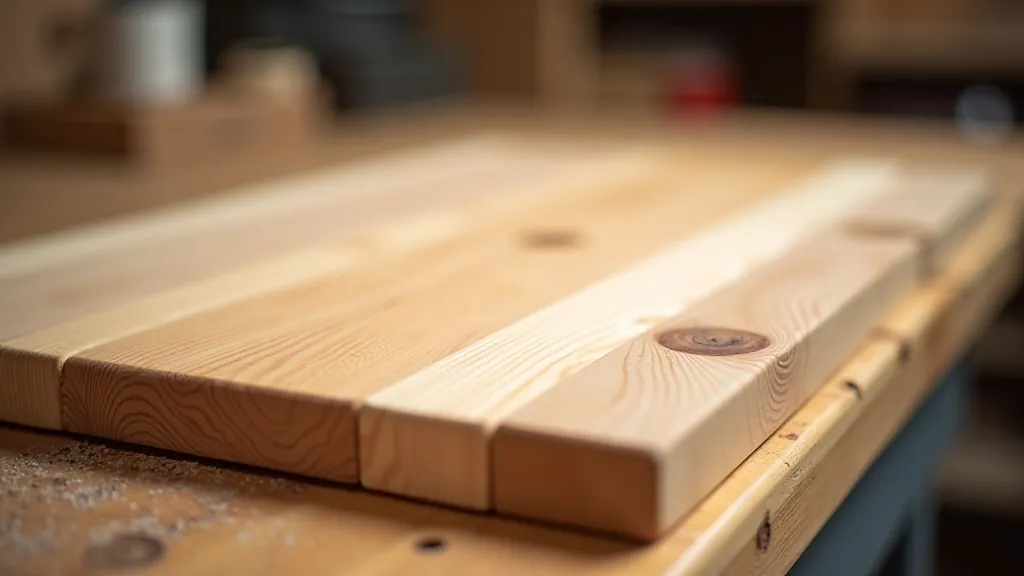
Now comes the fun part. You're going to arrange your four strips so the grain direction alternates. This is crucial — it prevents the board from cupping or warping over time.
Lay them out, look at the grain. One should go quarter-sawn (grain vertical), the next flat-sawn (grain horizontal), then quarter-sawn again, then flat-sawn. This cross-grain arrangement keeps everything stable.
Some woodworkers add spline joints at the ends for extra strength and visual interest. You'll cut a groove down the center of each joint, then fit a contrasting piece of wood (walnut spline through maple boards looks stunning) into those grooves. It's optional but it's not complicated.
Use quality wood glue — Titebond or similar. Don't skimp. Apply a thin, even coat to both surfaces of each joint. You're not trying to glue the entire board at once. Instead, you're building it in stages — glue two boards together, let them dry, then glue the third, and so on.
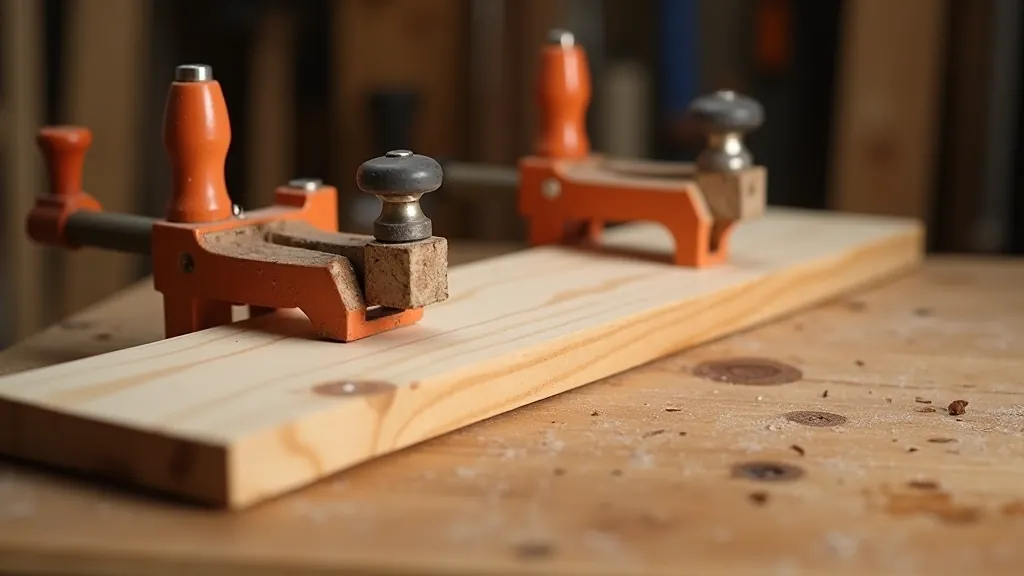
Clamp firmly but not brutally. If you're using bar clamps, one on top and one on bottom should be enough. Let it sit for at least 8 hours between each glue-up. This isn't a race.
After all four boards are glued together, you'll have your laminated blank. This is the moment when it starts to feel real.
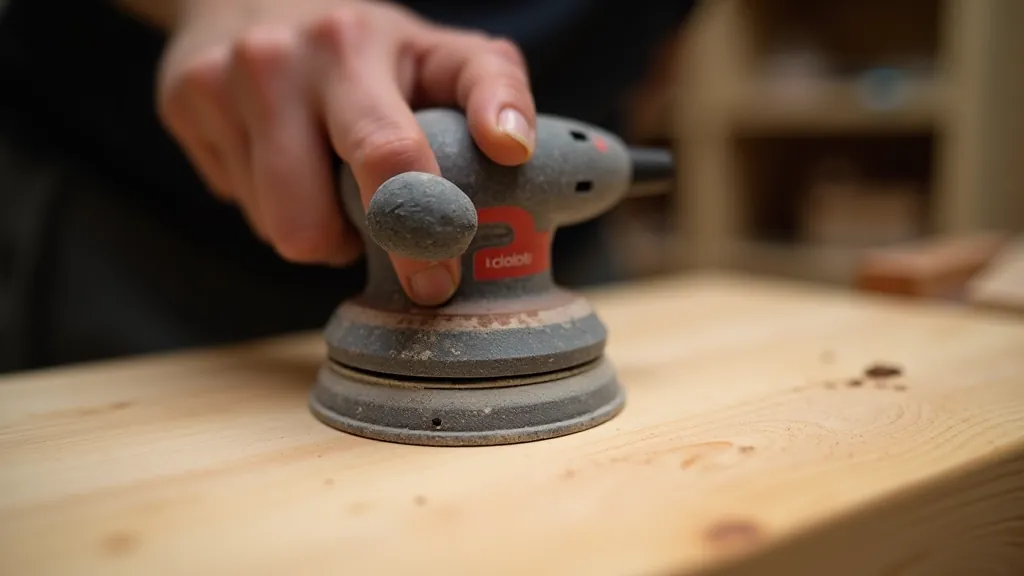
Your glued-up blank probably isn't perfectly flat or square. Time to fix that. If you've got a drum sander, use it. If not, start with 80-grit sandpaper and a sanding block, then work your way up to 120, then 150, then 220. This is meditative work.
Round over the edges — not too much, just enough so they're pleasant to grip. Use 150-grit for this, moving diagonally across the grain to avoid splintering. Sand the bottom completely flat and smooth.
The final surface should be silk-smooth. You're testing this with your hand, constantly. When you can't feel any grain or roughness, you're done.
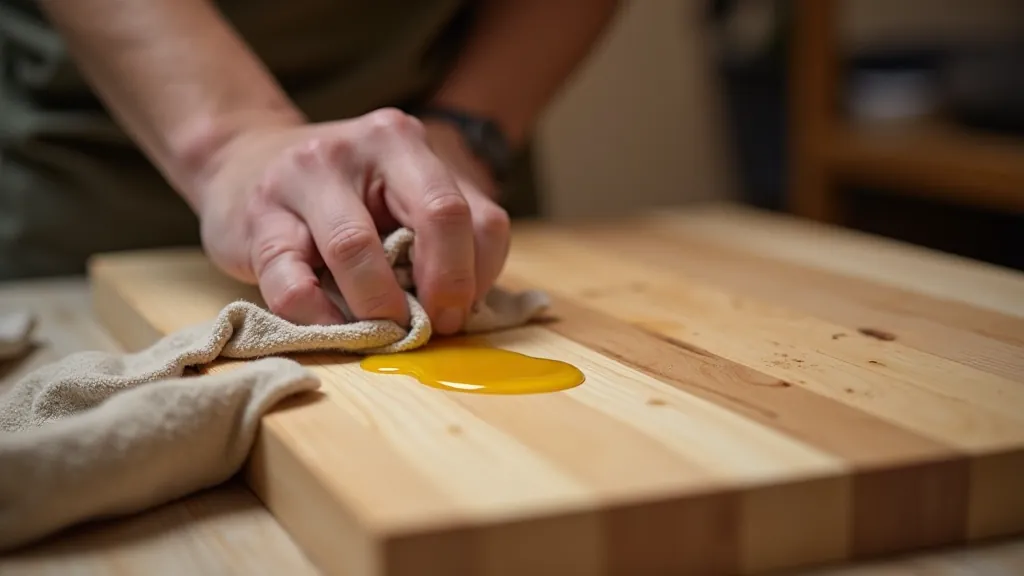
Never use varnish or polyurethane on a cutting board. You'll be cutting food on this. Instead, use food-grade mineral oil or a beeswax-and-oil blend. These protect the wood without creating a toxic surface.
Apply the oil generously. Let it soak in for 15 minutes, then wipe off the excess. Do this three times, letting each coat dry completely between applications. The wood should look richer, deeper, almost glowing.
After the final coat, let it cure for 24 hours before using. Then it's done. You've built something real.

That's it. Six steps from raw wood to a finished cutting board you'll use for years. It's not magic — it's just understanding wood, using tools properly, and taking your time.
The board you've made teaches you more than any YouTube video. You've learned how grain direction affects stability. You've felt the difference between hand tools and power tools. You've discovered that "good enough" isn't actually good enough — perfection in sanding and finishing is what separates a nice board from an exceptional one.
Most importantly, you've got a tool you made with your own hands. Every time you use it, you'll remember how it felt to build something. That's where real woodworking starts.
Ready to explore more projects or learn about setting up your workshop?
Browse All Guides