Simple Furniture Projects to Build Confidence
Three beginner-friendly projects that teach you real skills without overwhelming complexity
Why Start With These Three Projects?
Building furniture isn't about jumping straight to cabinets or tables. You'll actually learn faster by starting small. These three projects — a shelf, a stool, and a storage box — teach you the fundamentals that everything else builds on. Joinery, finishing, measuring accurately, and working with grain. They're not boring practice exercises either. You'll end up with real pieces you'll actually use.
What's different here? You're not following vague instructions. We're walking through exactly what to do, what can go wrong, and how to fix it. Most people get discouraged because they hit a problem and don't know what caused it. That won't happen to you.

The Wall Shelf: Starting With Basics
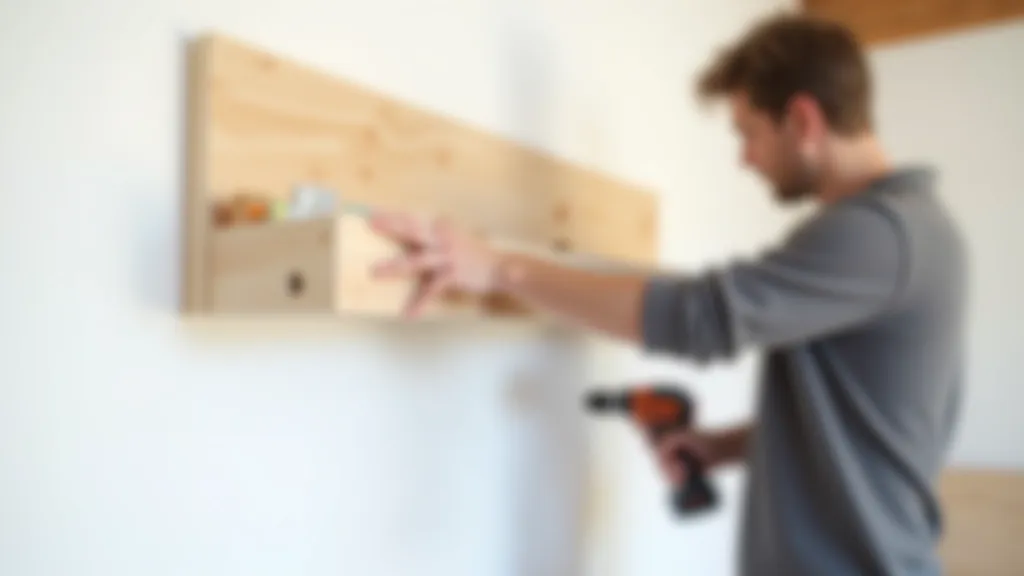
A floating shelf teaches you about wall mounting, weight distribution, and how to get a clean finish. Don't let "floating" intimidate you. You're using brackets hidden inside. Simple, strong, and it teaches you proper drilling technique.
Materials needed: One piece of solid wood (oak or pine work great), hidden shelf brackets rated for at least 15kg, wood filler, and finish. That's it. The shelf should be about 60cm long and 20cm deep. Not too big, not too small.
What you'll actually learn: Measuring twice and cutting once isn't just a saying — it matters. You'll learn how to drill pocket holes if you want a cleaner look, or you can use traditional screws from underneath. Both work. You'll also learn about wood grain and why finishing goes better when you understand which direction you're sanding.
1
Cut your board to length and width. A crosscut saw or circular saw works. Don't rush this step.
2
Sand the wood. Start with 80-grit for smoothing, finish with 150-grit. You're removing tool marks and splinters.
3
Drill for your brackets. Use a level to make sure they're actually level. Take your time here — this is what holds everything up.
4
Apply finish. Oil, stain, or paint depending on what matches your space. Two coats minimum. Let it dry fully between coats.
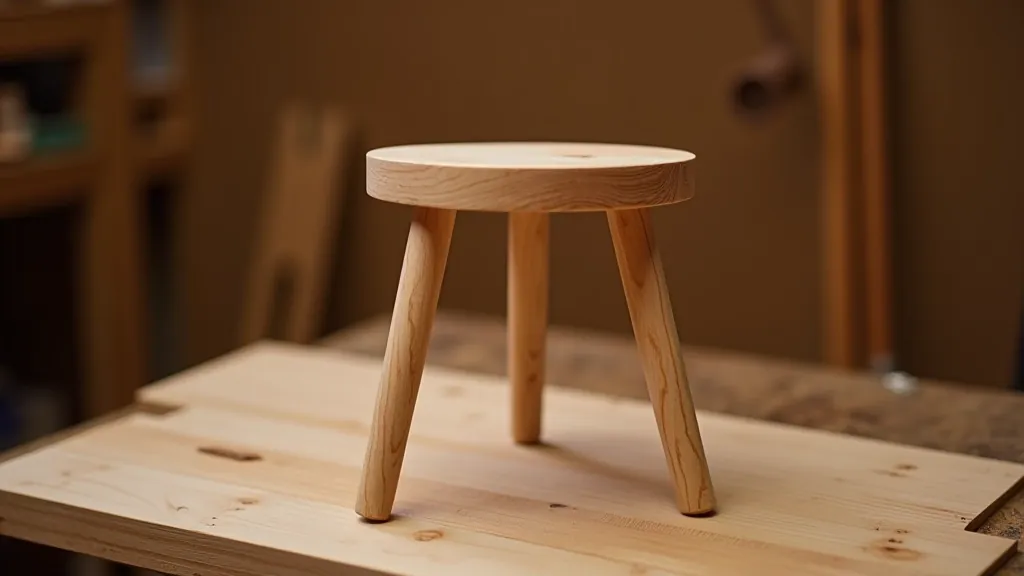
The Simple Stool: Learning Joinery
A three-legged stool is your introduction to real joinery. You're not just screwing pieces together. You're creating joints that hold through weight and movement. It's the jump from "that looks like wood furniture" to "I actually made this properly."
This project teaches you mortise and tenon joints in their simplest form. Don't worry if that sounds technical. It's just one piece fitting into another with no hardware visible. The stool seat is about 30cm across. Three legs angled slightly outward. It's stable, practical, and genuinely satisfying to sit on something you built.
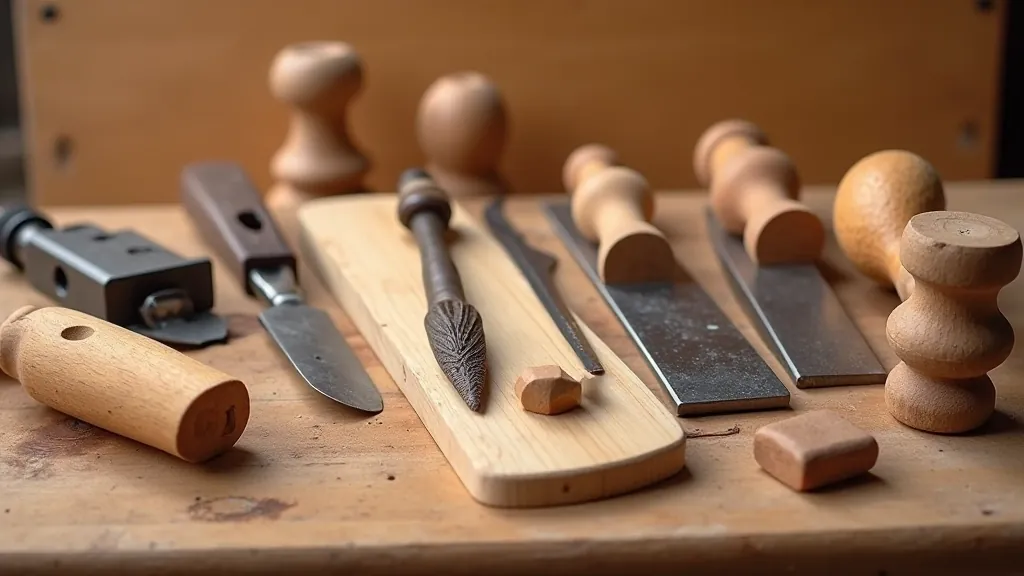
You'll need: wood for the seat (12-15mm thick), wood for three legs (25x25mm works fine), chisels (1-inch is essential), a drill with bits, and glue. The whole project uses less wood than a shelf. The learning, though? That's substantial.
Pro tip: Your first mortises won't be perfect. That's fine. Glue is stronger than the wood around it. Don't overthink it. Aim for snug-fitting joints and you're done.
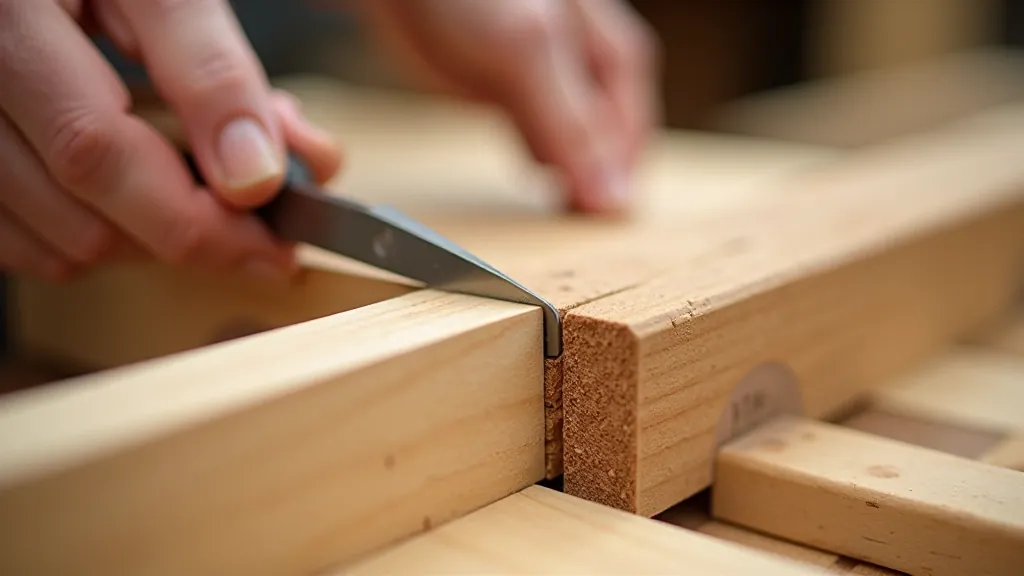
The Mortise and Tenon Process
A mortise is a hole. A tenon is a peg that fits in it. Sounds simple because it is. What takes practice is making them fit well without being too tight or too loose.
You'll drill out most of the mortise, then use a chisel to clean up the sides and corners. The chisel is your friend here. It's not scary once you understand grain direction. Cut with the grain whenever possible. When you're chiseling, you're not hammering it sideways. You're using controlled pressure, working gradually.
The tenon is cut on a table saw or with a hand saw and chisel. You're removing wood to create a peg that slides into your mortise. Test fit it. Adjust if needed. This back-and-forth is actually where you learn the most.
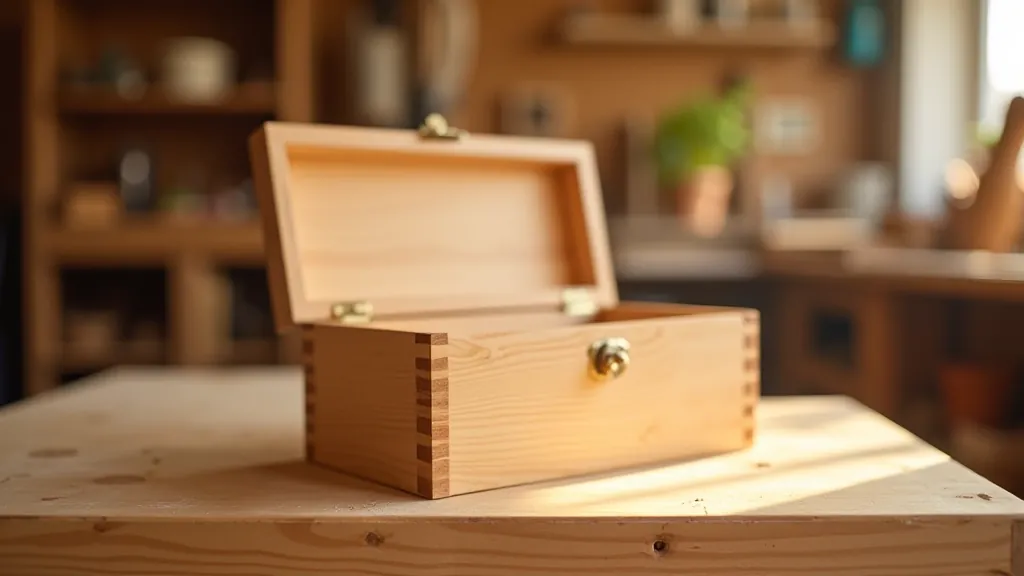
The Storage Box: Bringing It Together
By the time you finish a shelf and a stool, you're ready for something more complex. A storage box teaches you how to work with panels, how to create a lid that actually closes properly, and how to hide your fasteners so the finished piece looks professional.
This box is about 60cm wide, 40cm deep, and 40cm tall. Big enough to be useful. Small enough that you're not spending weeks on it. You'll use solid wood for the frame and plywood for the panels. Yes, plywood. It's stable, it's affordable, and it's what professionals use for boxes like this.
The real learning here is about panel construction. You're building frames and fitting panels into grooves. No visible screws on the outside. The joints are clean. The lid sits properly. This is what takes a project from "I made this" to "This looks like I actually know what I'm doing."
1
Cut your frame pieces. The sides, front, and back. Use a miter saw for clean 90-degree cuts.
2
Rout grooves for your panels. A router with a core box bit works. These grooves hold your plywood panels without fasteners.
3
Assemble the frame with the panels. Glue the frame joints. The panels float in the grooves — they're not glued.
4
Create a lid using the same techniques. Make sure it sits flush and closes smoothly.
5
Sand everything. 80-grit, then 150-grit, then 220-grit for a really smooth finish. Take your time here.
6
Finish with stain and polyurethane, or paint. Two coats minimum. Three coats for durability.
Educational Note
This guide is informational and educational in nature. Woodworking involves risks — sharp tools, power equipment, and physical exertion. Always prioritize safety. Wear appropriate eye and ear protection. Keep hands clear of moving parts. If you're new to tools, consider working alongside an experienced woodworker or taking a hands-on class. Every person's situation, skill level, and workshop setup is different. These projects are starting points. Adapt them to your needs and capabilities.
You're Ready to Start
These three projects aren't just about building furniture. They're about building confidence. When you finish that shelf and it holds books without wobbling, you've proved something to yourself. When your stool is solid enough to sit on comfortably, you understand joinery. When your storage box closes smoothly with clean lines, you're not a beginner anymore.
The difference between someone who dabbles and someone who actually builds things? It's not talent. It's doing the work. Starting with projects you can actually finish. Learning from each one. Making mistakes and fixing them. That's the real skill.
Your first shelf might not be perfect. Your first mortises might be a bit sloppy. Your first finish might have dust in it. That's completely normal. You'll improve immediately on the next project. The shelf teaches you for the stool. The stool teaches you for the box. The box teaches you for whatever comes next.
The tools are ready. The wood is available. The knowledge is in your hands now. Start with whichever project excites you most. Build it. Learn from it. Build the next one better.